How to Make a Magic Ring in Crochet (Step-by-Step for Beginners)
CROCHET BASICS · TECHNIQUE
⭕ How to Crochet a Magic Ring
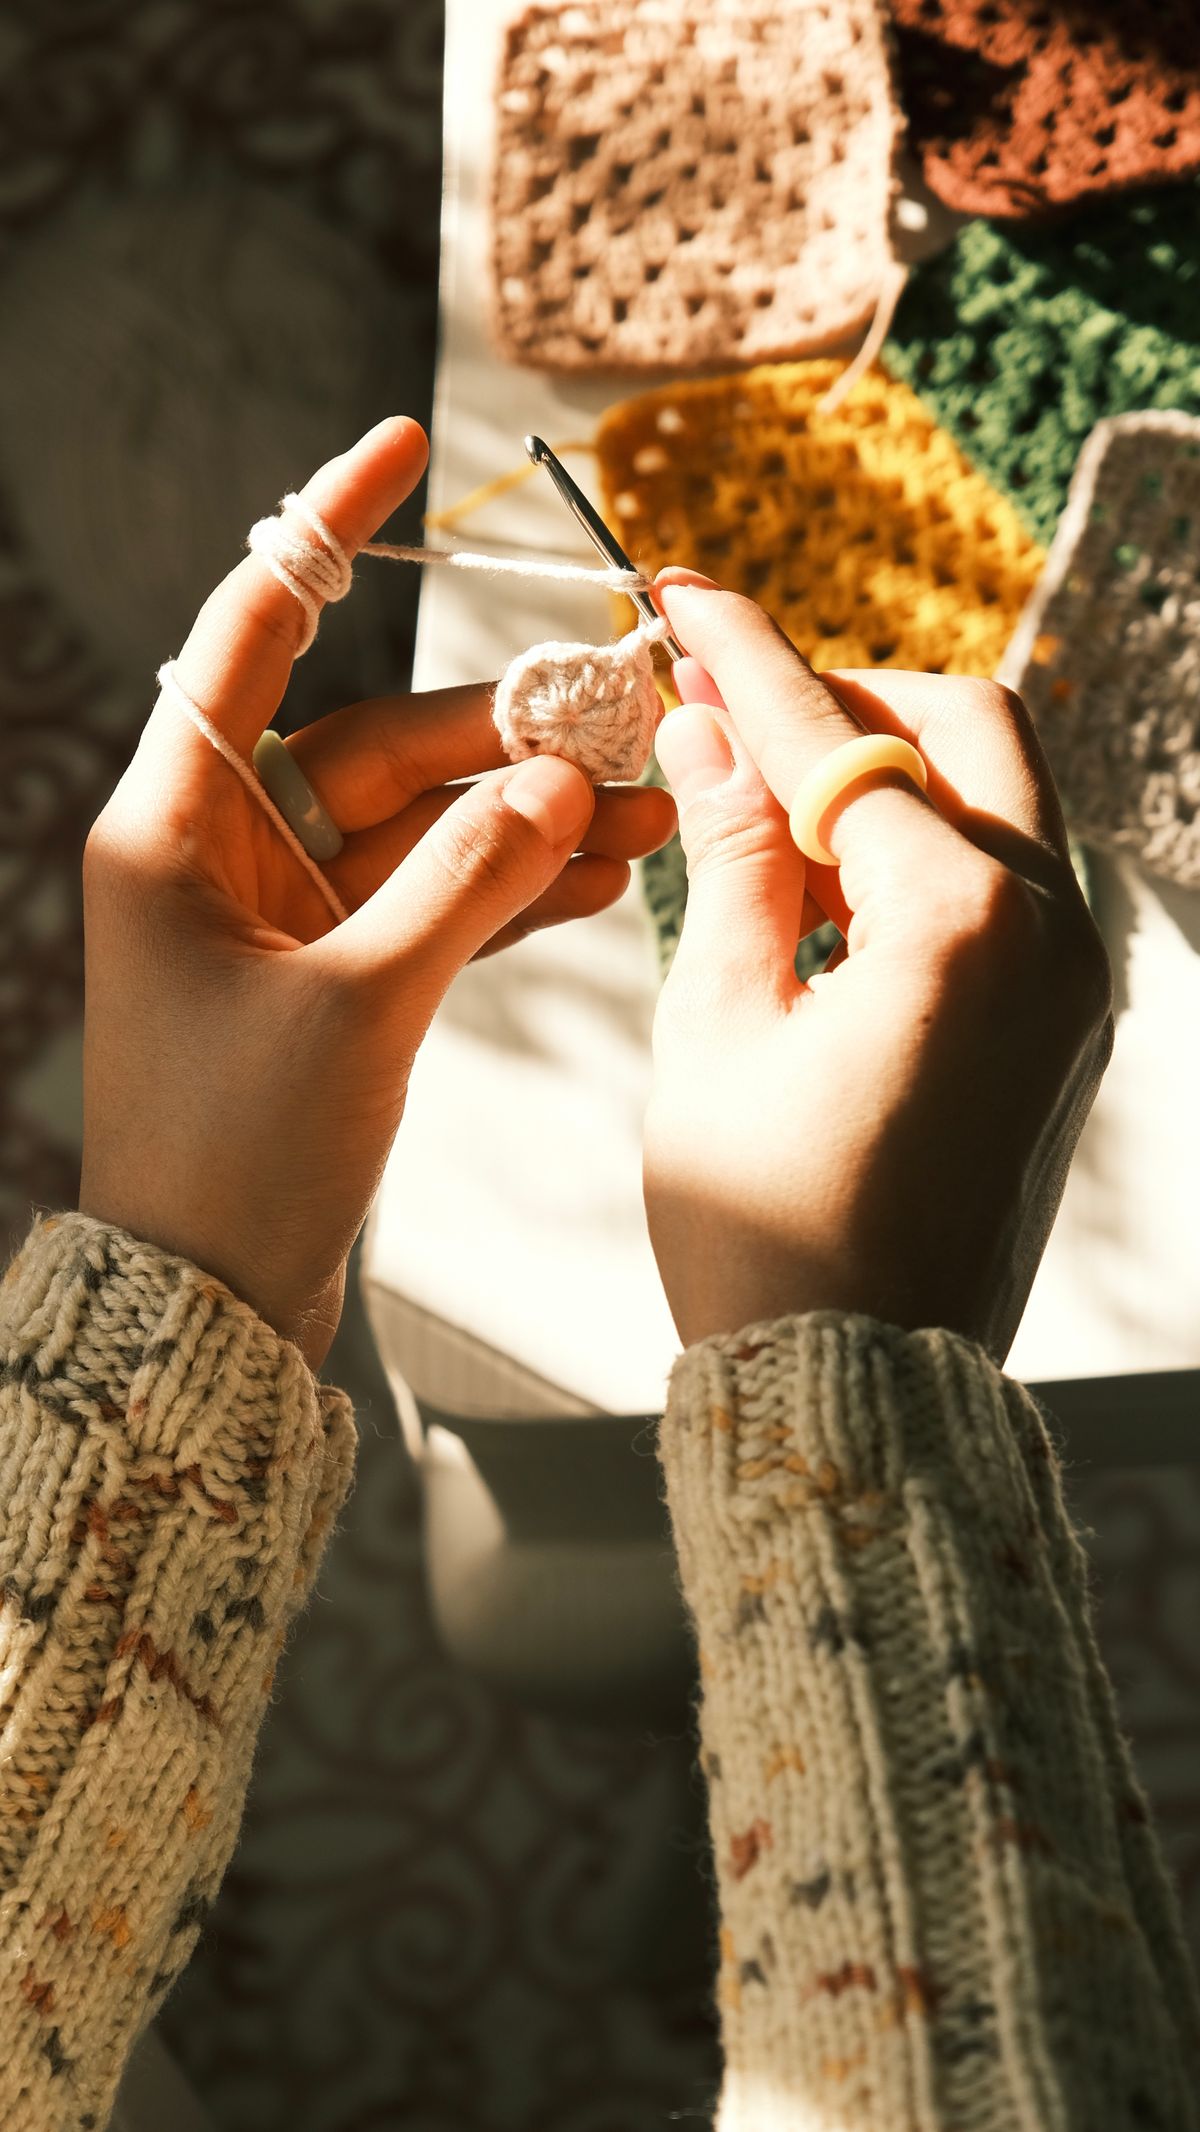
The no-hole start for flowers, coasters and amigurumi — explained step by step
If you want to crochet anything round — a flower centre, a coaster, an amigurumi head, a hat — you will almost always start with a magic ring (also called a magic circle, adjustable ring or magic loop). It lets you pull the centre completely closed, so there is no hole in the middle of your work. It is one of the techniques beginners fear most, but once it “clicks”, you will use it every day.
In this tutorial I explain, step by step, how to make a magic ring, how to secure it so it never opens again, the alternative for anyone who really can’t manage it, and how to fix the most common problems.
Why Use a Magic Ring Instead of a Chain Circle?
The traditional way to start working in the round is to chain 4 or 5 and join them into a ring with a slip stitch. It works, but it always leaves a small hole in the centre, because chains cannot shrink. With a magic ring, the first round is worked over a loose loop of yarn, and then you pull the tail like a drawstring to close it completely.
| Magic ring | Chain ring | |
|---|---|---|
| Centre hole | Closed completely | Small hole remains |
| Adjustable after round 1 | Yes | No |
| Difficulty | Needs a little practice | Very easy |
| Best for | Amigurumi, flowers, coasters, hats | Lacy motifs, granny squares |
What You Need
- Any smooth yarn — a light-coloured cotton or acrylic in DK or worsted weight is easiest to see (see my yarn weight guide).
- The hook recommended for your yarn (check the hook sizes chart).
- A stitch marker.
How to Make a Magic Ring: Step by Step
- Make a loop. Leave a tail of about 15 cm (6 in). Cross the working yarn (the yarn coming from the ball) over the tail to form a circle, about the size of a coin. Hold the crossing point between your thumb and middle finger.
- Insert the hook. Put your hook through the centre of the circle from front to back.
- Grab the working yarn. Yarn over with the working yarn and pull up a loop through the circle. You now have one loop on the hook.
- Lock it with a chain. Yarn over again and pull through the loop on your hook. This chain secures the ring; it usually does not count as a stitch.
- Work your first round. Insert the hook into the centre of the circle again — going under both the ring and the tail — and work the stitches the pattern asks for (for example, 6 single crochet).
- Pull it closed. Gently pull the tail. The circle shrinks and closes. If one strand moves and the other doesn’t, pull the one that moves first, then the tail.
- Join or continue. Either join with a slip stitch into the first stitch, or place a marker and continue in a spiral, as your pattern says.
💡 The trick that made it click for me
Count your stitches before pulling the ring closed. Once it is tight, it is very hard to see the stitches. Six stitches, count, then pull.
How to Make Sure the Magic Ring Never Opens
Because the centre is held by a single strand, a ring that isn’t secured can slowly loosen — especially on toys that get squeezed or keychains that are used every day. To secure it:
- After a few rounds, thread the tail onto a tapestry needle.
- Weave it diagonally through the stitches of the first round, then in the opposite direction.
- Pull once more to tighten the centre and weave through a few more stitches before cutting.
Weaving in two directions locks the tail in place. I explain this in more detail in my finishing guide.
Standard Increases After the Magic Ring
Most flat circles in single crochet follow the same simple maths: start with 6 stitches, and add 6 stitches every round.
| Round | Instructions (US terms) | Stitch count |
|---|---|---|
| 1 | 6 sc in magic ring | 6 |
| 2 | 2 sc in each st | 12 |
| 3 | *sc in next st, 2 sc in next st* × 6 | 18 |
| 4 | *sc in next 2 sts, 2 sc in next st* × 6 | 24 |
| 5 | *sc in next 3 sts, 2 sc in next st* × 6 | 30 |
| 6 | *sc in next 4 sts, 2 sc in next st* × 6 | 36 |
For a flat circle in double crochet, start with 12 stitches and add 12 every round. If your circle starts to ruffle, you are adding too many stitches; if it curls up into a bowl, too few.
Joined Rounds or Spiral?
- Spiral rounds (no joining) are standard for amigurumi: they look seamless. Use a marker in the first stitch of each round.
- Joined rounds (slip stitch + chain at the start of each round) are used when colours change each round or when the pattern has a clear start and finish, like many flowers and coasters.
Troubleshooting
- The ring won’t close. You probably worked some stitches over only one strand. Make sure every stitch goes around both the ring and the tail.
- The ring came undone. The first chain wasn’t made, or the tail wasn’t woven in two directions.
- It looks like a spiral staircase at the join. Normal for spiral rounds — a slip stitch at the end and a neat finish smooth it out.
- My circle is wavy. Check your stitch count each round.
Alternative: The “Chain 2” Method
If your fingers really refuse the magic ring, try this: chain 2, then work your first round into the second chain from the hook. The hole will be small, and you can tighten it a little by pulling the starting tail. It is perfect while you practise.
Where You’ll Use It on This Blog
The magic ring is the starting point of many flowers and decorations — for example the small daisies on the alphabet keychains and the flowers on the crochet flower curtains. Practise five rings in a row today and you will be ready for all of them.
🧶 What you need for a magic ring
This box contains affiliate links. As an Amazon Associate I earn from qualifying purchases, at no extra cost to you. Learn more.
- Ergonomic crochet hook set – a 4 mm hook is perfect for practising
- Smooth cotton yarn in a light colour – slides easily so the ring closes tight
- Locking stitch markers – mark the start of each round
- Polyester fibre fill – for amigurumi that starts with a magic ring
Frequently Asked Questions
Is a magic circle the same as a magic ring?
Yes — magic ring, magic circle, magic loop and adjustable ring all describe the same technique.
Can I use a magic ring with cotton yarn?
Yes, but cotton doesn’t slide as easily. Pull the tail slowly and weave it in well.
How many stitches go into a magic ring?
Usually 6 for single crochet, 8 for half double crochet and 12 for double crochet — but always follow your pattern.
🧶 You May Also Like
Written by Cozy Stitch Haven


Comments
Post a Comment